

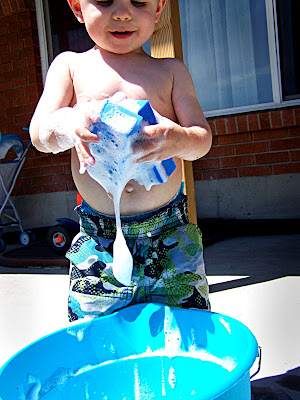
Here is a quick before and after. It's hard to show on here but try it on your pictures and you will see some small but really nice improvements on your pictures
For todays tutorial I just wanted to show a few basic thinks on Photoshop that I do on every single picture I fix up. You have to look closely to see a huge differance but they are little things that really help
Here is my picture right out of the camera.
On the top bar click on Image (2 buttons to the right of the File button) then adjustments then Birghtness/Contrast slide the contrast bar up to about 8 (Sometimes I do it a little higher, depends on the picture just play with it and see how much you like. I like doing this better than saturating, sometimes you will have to adjust the curves again after adding contrast.
Then click on Filter-sharpen-Unsharp mask. Make the amount 27 the radius 10.5 and the Threshold 0. This just makes all the edges sharper and more defined. When you do it to your picture go to the history and look at your before and after that will show you the biggest difference.


5 comments:
thanks for the tips Felicia....:)
cool tips, I never really get into all those tabs up top cuz they're daunting! Thanks! Cute little guy too!
Thanks! Sorry if I sound like a total idiot, but what is adjusting the curves? What does it do?
Nice! Now I only wish I had full blown photoshop. I can't wait to try the sharpening amounts though. Thanks for the tips!
Go to image, adjustments, curves then pull the center of the curve up or down to darken or lighten your picture. It's the best way I have found to adjust the lighting.
Post a Comment